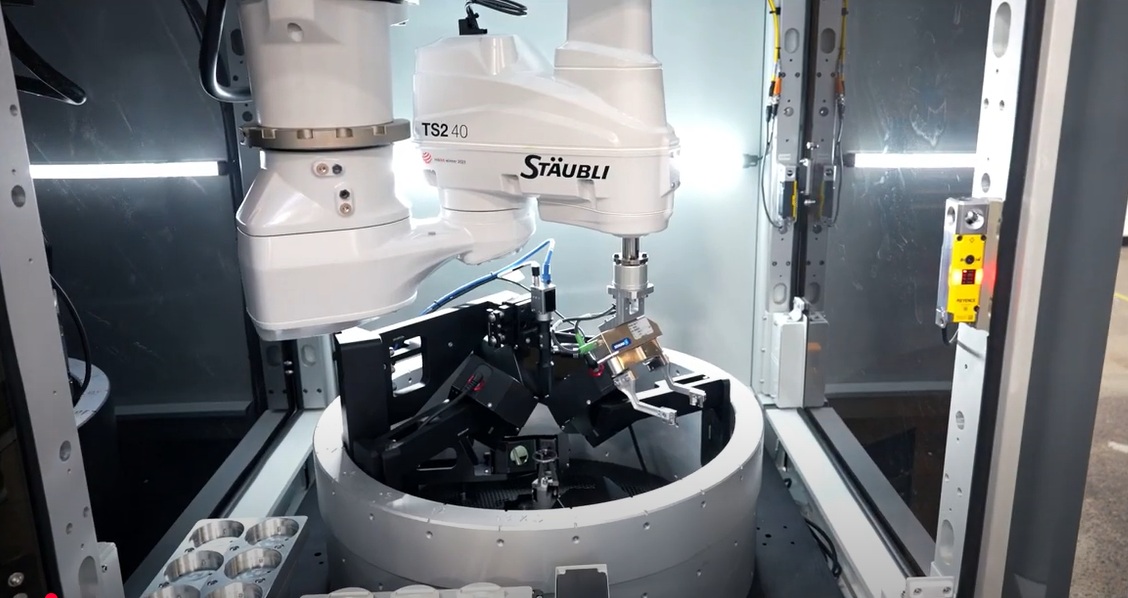
Precision Manufacturing Component Inspection delivering Fast, Accurate, Real-Time Shop-floor Gauging alternative to coordinate measuring machines

Achieving Flawless Accuracy with ZeroTouch Metrology
Even the smallest deviation can result in significant performance issues. ZeroTouch Metrology’s cutting-edge, non-contact measurement technology offers unparalleled accuracy for inspecting precision components in high volume, in-line on the shop floor. Offline fixed coordinate measurement machines or extended trips to inspection labs add lag to providing real-time process feedback and adjustment, multiplied by the need to support multiple machines performing the same operations. ZeroTouch provides real-time, highly accurate data without compromising speed or efficiency.


Traditional coordinate measurement machines (CMMs) typically measure offline in temperature-controlled rooms. Touch probe technology is inherently slow; ZeroTouch allows for highly accurate results on the shop floor with lightning-fast inspection times. Total cycle time of 20-30 seconds can be achieved for small components, in many cases allowing for 100% inspection as opposed to offline audits.

Drive process feedback with immediate results. Know where manufacturing capability is real-time measurement feedback. Understand tool life, individual station capability, and have full traceability of inspection to parts produced in the plant's MES system.